Readers like you help support this site. When you make a purchase using links on our site, we may earn an affiliate commission. All opinions remain our own.
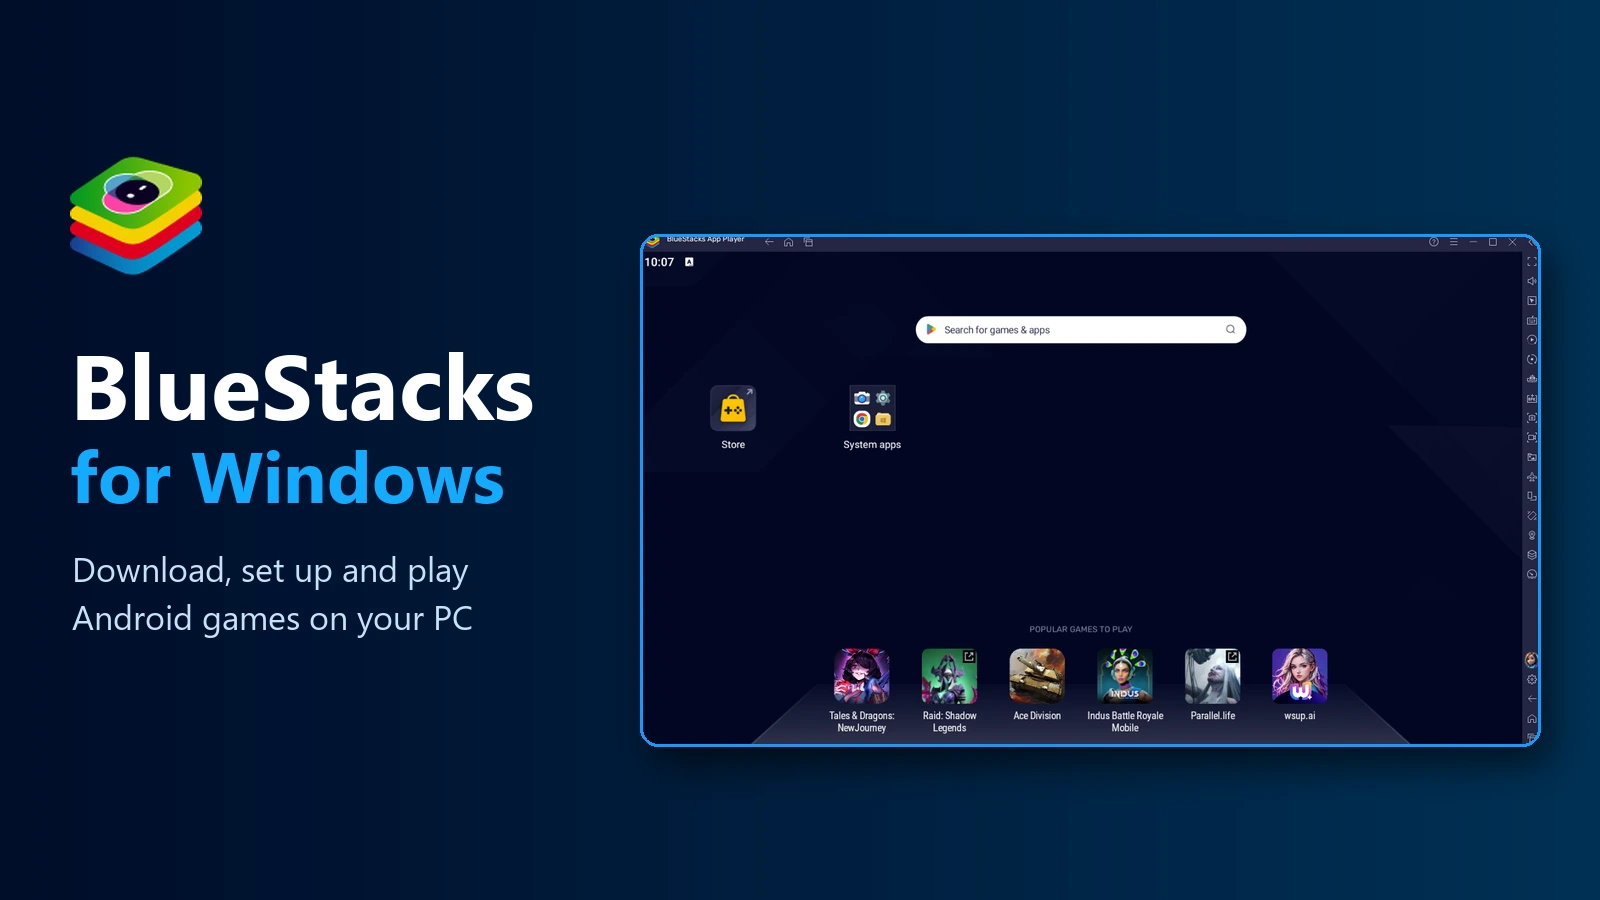
BlueStacks on Windows: download it from bluestacks.com, sign in to Google Play and play Android games with a keyboard and mouse.
BlueStacks is a free Android emulator from now.gg, available from the official BlueStacks website, that runs Android games and apps on your Windows PC. You sign in with your Google account, install games from the Play Store, and play them with a keyboard, mouse or controller.
The main app is BlueStacks 5, also called BlueStacks App Player. It can run several copies of Android at once, each with its own game and account. That is why it stays popular with players of strategy and idle games.
It runs on Windows 10 and Windows 11, needs 4 GB of RAM at minimum, and works best with virtualization turned on. A newer app, BlueStacks Desktop, adds a full Android 16 desktop for PCs with 12 GB of RAM or more.
This guide covers what your PC needs, how to install BlueStacks, which Android version to pick, what is free and what is paid, and fixes for the problems people hit most. Still stuck? Reach out to us directly.
What Is BlueStacks?
BlueStacks is an Android emulator: a program that runs a full copy of Android inside a window on Windows. Android sees a normal phone, so apps install from the Play Store and run as they would on a phone.
BlueStacks adds what a phone lacks on a PC: keyboard and mouse controls, a side toolbar for screenshots and recordings, and the option to run several copies of Android, called instances, at the same time.
It is made for games first. For messaging apps that already have a Windows version, such as WhatsApp for Windows, the native app is lighter and faster.
What You Can Do With BlueStacks
We could not install BlueStacks on our test PC, so these screenshots come from the BlueStacks Help Center and show the current BlueStacks 5 app.
Play Android games in a PC window
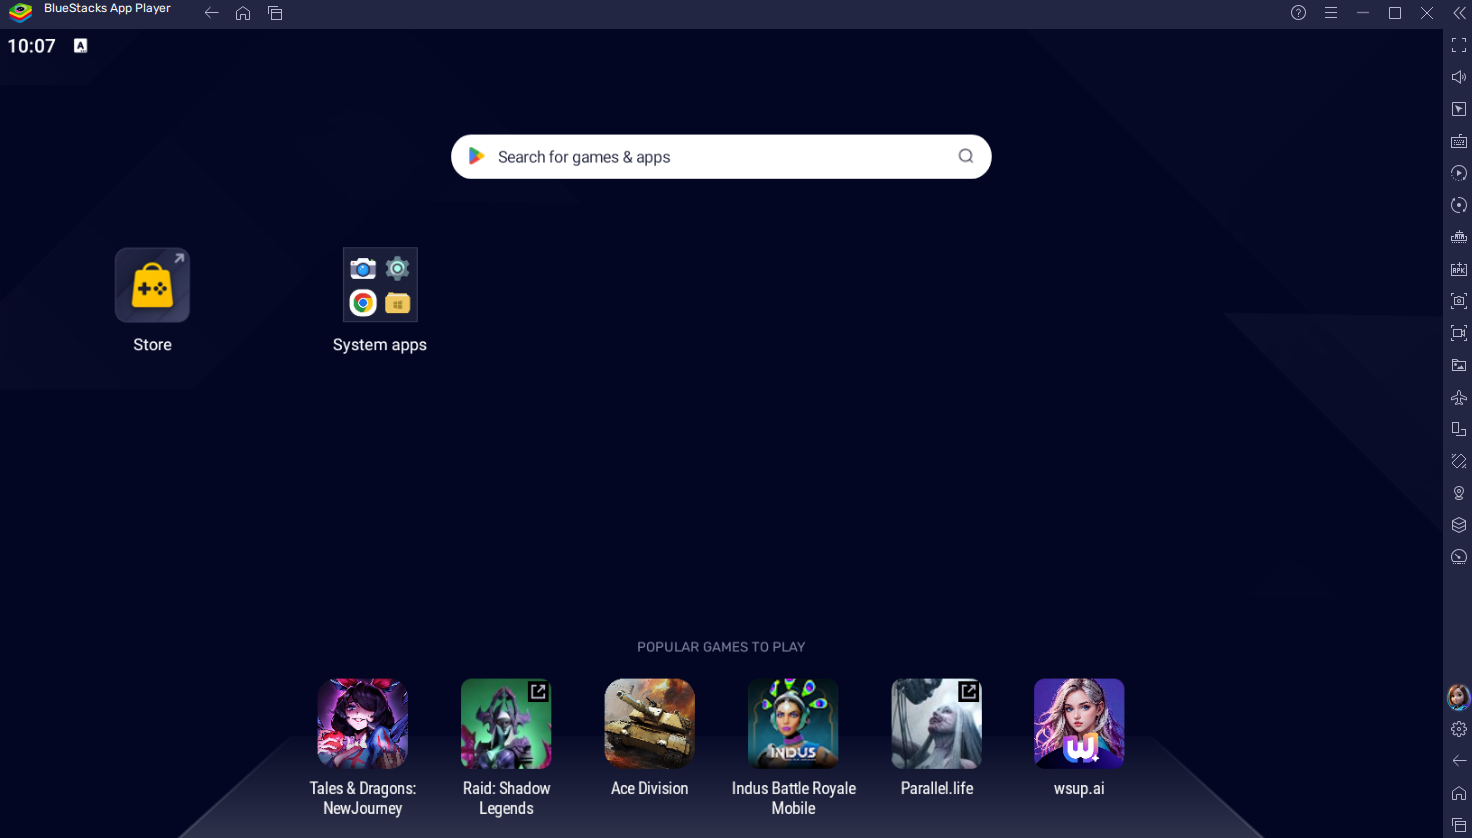
The home screen has a Google Play search bar, your installed apps and a side toolbar down the right edge. Any game or app you can get from Google Play installs here, and your progress syncs with your Google account.
Keyboard, mouse and controller support
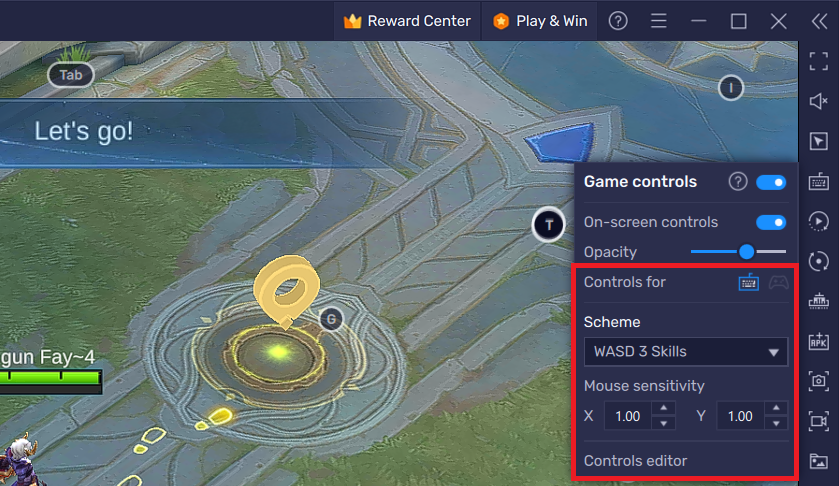
Touch controls get mapped to keys, so W, A, S and D move your character and the mouse aims. Many popular games come with a ready-made control scheme, and the Controls editor lets you drag keys onto any button on screen.
Gamepads work too, and you can switch schemes in a game with Ctrl + Shift + Q.
Run several copies of Android at once
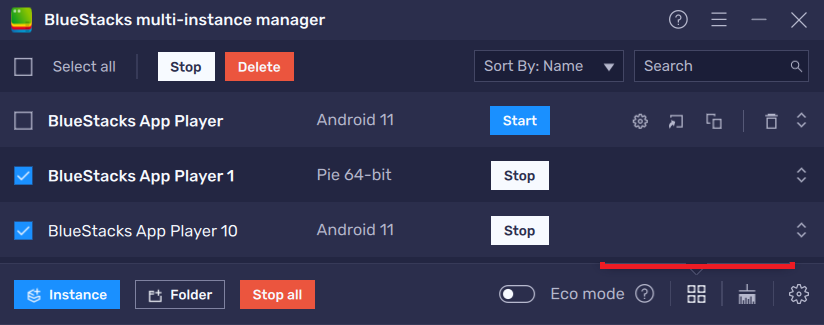
The Multi-instance Manager creates extra instances, each with its own apps and Google account. You can play two games side by side, or one game on two accounts. Sync operations repeats your clicks in every running instance.
Record and replay repeated tasks
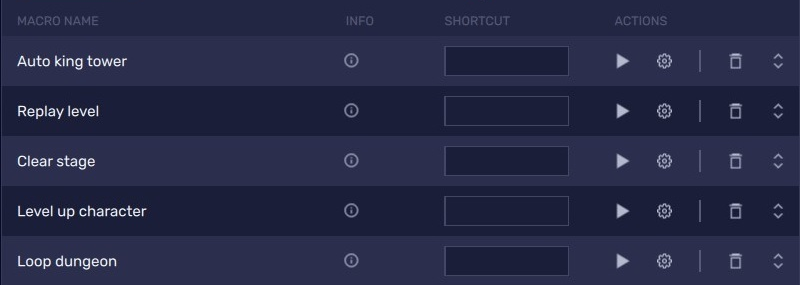
The Macro manager records a run of clicks and key presses, then plays it back on a shortcut or on a loop. It suits grinding tasks in idle and strategy games.
Some games ban automation, so read a game’s rules before you leave a macro running.
Save power with many instances open
Eco mode lowers the frame rate and mutes the sound on instances you are not watching, so a busy PC stays responsive. Turn it on for one instance from the side toolbar, or for all of them in the Multi-instance Manager.
Screenshots, recording and more
The toolbar on the right takes screenshots, records gameplay, installs APK files, rotates the screen, sets a fake location and turns on Airplane mode for offline games. Each tool is one click away while you play.
BlueStacks vs Google Play Games on PC
Google Play Games on PC is Google’s own app for playing Android games on Windows. BlueStacks runs almost any Play Store app, while Google’s app only offers games Google has approved for PC. Google’s app has stricter hardware needs but no ads.
Our take
If the game you want is on Google Play Games on PC and your PC meets its requirements, try that first: it is cleaner and has no ads. Pick BlueStacks when the game or app is not there, when your PC has less memory, or when you want several accounts running side by side. BlueStacks is the more flexible tool, but it is also the busier one, with promoted games and offers built into the app.
What Your PC Needs
BlueStacks runs on modest hardware, but more memory and an SSD make a big difference, especially with several instances open.
Check that virtualization is on. Open Task Manager with Ctrl + Shift + Esc, go to Performance, then CPU. If the Virtualization line says Disabled, follow BlueStacks’ guide for Windows 11 or Windows 10 to turn it on in your BIOS. BlueStacks Desktop, the Android 16 app, needs at least 12 GB of RAM.
How to Install BlueStacks on Windows
Download BlueStacks only from bluestacks.com. The installer is small and downloads the rest during setup, so stay online until it finishes.
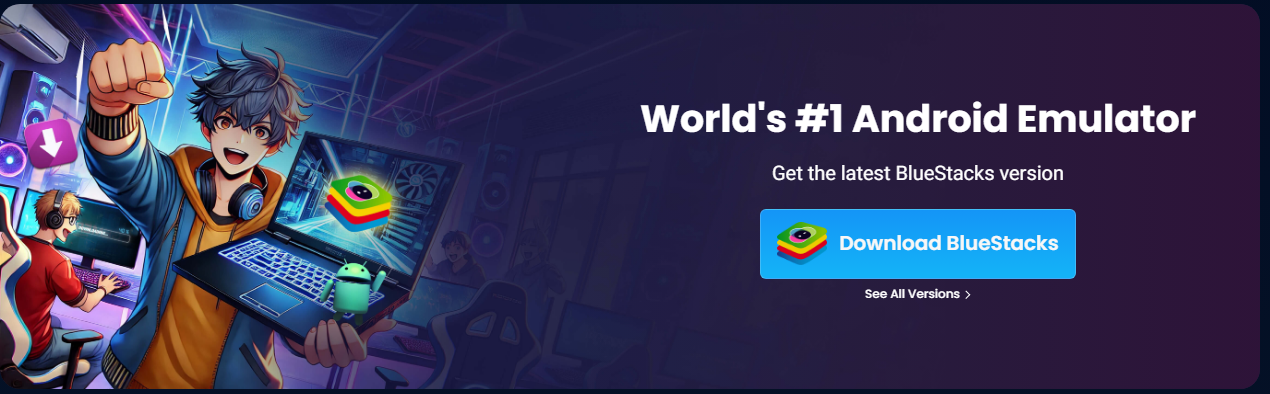
1 Open the BlueStacks download page at bluestacks.com and click Download BlueStacks.
2 Run the downloaded file from your Downloads folder and select Yes when Windows asks for permission.
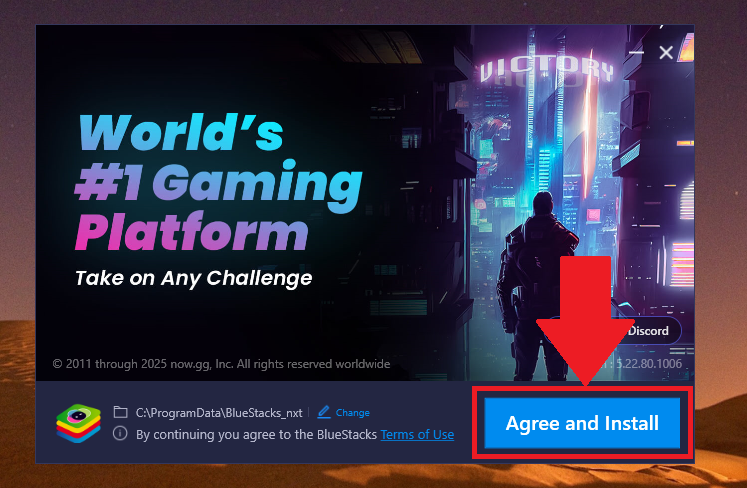
3 Click Agree and Install. To use another drive, click Change first and pick a new folder.
4 Wait for the download and setup to finish. BlueStacks opens on its own when it is ready.
5 Sign in to Google Play from the Play Store icon on the home screen, using your Google account.
6 Search for a game and click Install, then open it from the home screen.
Hyper-V or Windows Sandbox turned on? That is fine. If Hyper-V is on, the download page gives you a Hyper-V compatible build, and current versions run with it on or off. No virtualization at all? BlueStacks offers an older 32-bit build for those PCs, explained in its help article, but expect slower performance.
Which Android Version Should You Pick?
BlueStacks 5 comes in a few Android versions. The main download button picks one for you, and Pie 64-bit suits most games. You can add other versions later as extra instances, so this choice is not final.
Pie 64-bit
Android 9 in 64-bit. It runs most current games and apps and is the safe pick when you are not sure.
Android 13 64-bit (Beta)
Use it for games and apps that need a newer Android. It is marked beta, so keep a Pie instance as a backup if a game misbehaves.
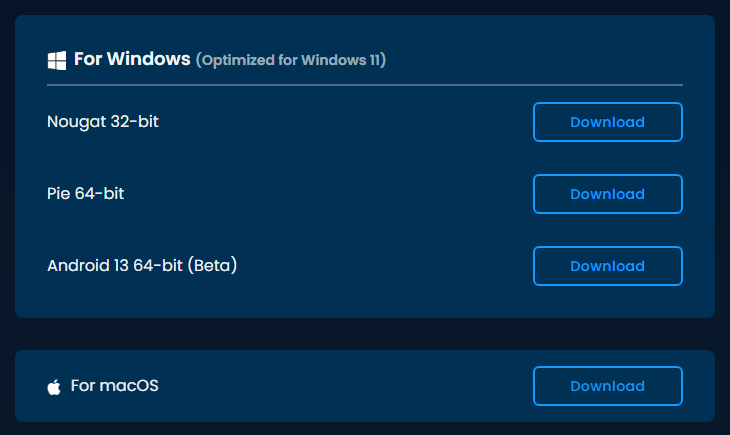
Android 11 and Nougat 64-bit are gone for new instances. Recent versions of BlueStacks 5 no longer offer them in the Multi-instance Manager. Existing instances keep working, with your data intact.
BlueStacks Desktop: Android 16 on Windows
BlueStacks Desktop is a separate, newer app. Instead of one app at a time, it gives you a full Android 16 desktop with a taskbar, an app drawer and apps in their own resizable windows. It is also built so AI agents such as Claude and Codex can use Android apps for you.
A full Android desktop in a window
Open several apps side by side, switch between them from the taskbar, and check notifications from the bell icon. It needs at least 12 GB of RAM, and the installer stops on PCs with less.
Game controls only work in full screen, so BlueStacks 5 is the better pick for gaming. You can install both on the same PC.
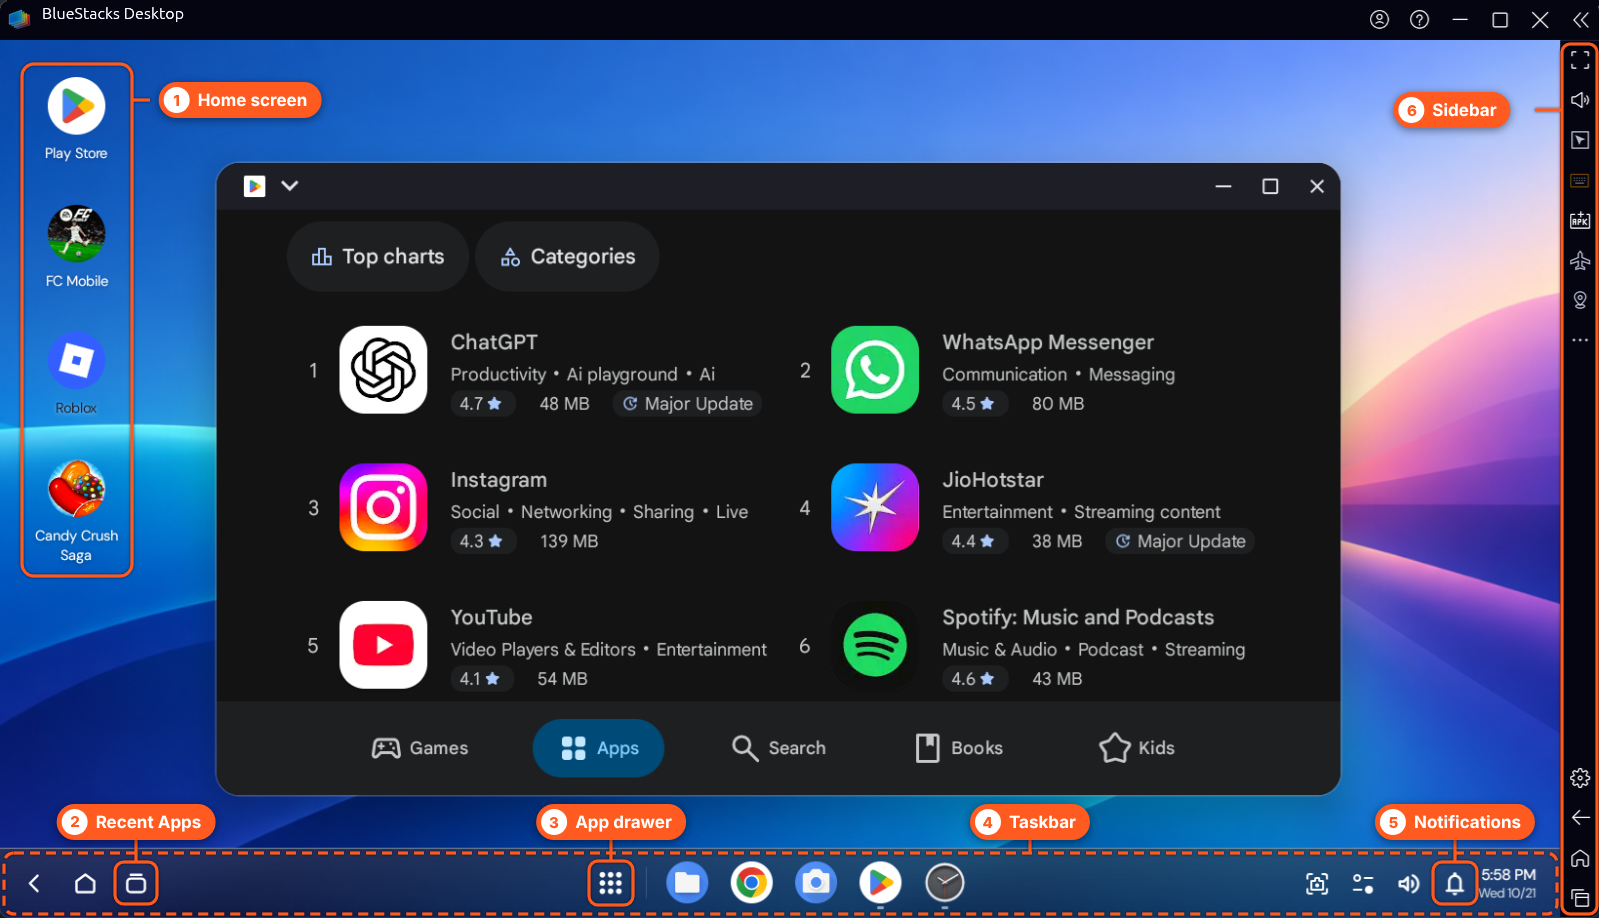
Get it from the BlueStacks Desktop website. It is for Windows only for now, with Mac support planned.
Is BlueStacks Free? Ads, Prime and Extras
BlueStacks is free to download and use, and every feature in this guide works without paying. The free version shows ads and promoted games. A paid membership called BlueStacks Prime removes the ads and adds rewards.
Do you need Prime?
Most people do not. Pay for it only if the ads bother you, or if you already spend money in games sold through the BlueStacks store, where Prime adds extra savings. You can cancel any time from the Prime button on the top bar.
BlueAI and Smart Downloads
BlueAI is an optional AI assistant you install from the side toolbar to automate tasks in apps. Smart Downloads installs recommended games while your PC sits idle. Both are optional, so skip them if you only want to play your own games.
Is BlueStacks Safe?
Yes, when you download it from bluestacks.com. BlueStacks is a long-running app from a known company, and Android apps inside it cannot read your Windows files unless you share them. Copies from other download sites are where the risk sits, since those can be bundled with unwanted software.
The honest caveat is clutter. The free version shows ads, promoted games and reward offers, and features such as Smart Downloads can install games you did not pick. Turn off what you do not want in Settings, and uninstall it fully with BlueStacks’ own cleaner tool if you stop using it.
Common Problems and Fixes
BlueStacks is slow or laggy
Turn on virtualization in your BIOS first, since it makes the biggest difference. Then open Settings, Performance and raise CPU and memory allocation, or switch Performance mode to High Performance. Update your graphics drivers too.
Virtualization is disabled
BlueStacks warns that VT is off. Restart into your BIOS or UEFI settings, turn on Intel Virtualization Technology, VT-x, SVM or AMD-V, then save and restart.
Cannot sign in to Google Play
Clear the Google cache inside BlueStacks, make sure virtualization is on, and check that your antivirus is not blocking secure connections. BlueStacks keeps a step-by-step Play Store login guide.
A game says your device is not compatible
Some games need a newer Android version. Open the Multi-instance Manager, create an Android 13 instance and install the game there.
Running too many instances at once
Each instance takes its own share of memory. Turn on Eco mode in the Multi-instance Manager, and stop the instances you are not using.
Stuck on an old Windows version
The newest BlueStacks needs Windows 10 or 11. On Windows 7 or 8, only versions 5.21.300 and below install, and they no longer get new features.
Tips for Getting Started
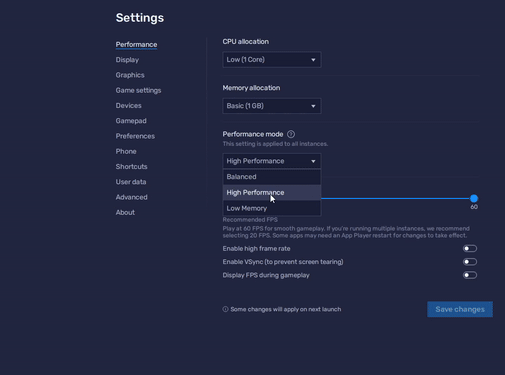
1 Give it more power. In Settings, Performance, set CPU allocation and Memory allocation one step higher than the default, then restart BlueStacks.
2 Use the ready-made controls first. Open Game controls from the side toolbar before you change anything. Many games already have a scheme set up.
3 Save your progress to an account. Link games to Google Play Games or a social login, so your progress survives a reinstall or a new instance.
4 Learn the scheme shortcut. Ctrl + Shift + Q switches between control schemes mid-game, which helps when a game has separate controls for menus and fights.
5 Keep it updated. BlueStacks fixes crashes in specific games in almost every update. If a game breaks, read the release notes for a fix before you reinstall.
Removing BlueStacks later? Uninstall it from Settings, Apps, Installed apps. For a complete clean-up, BlueStacks offers a cleaner tool that also removes BlueStacks X and BlueStacks Services. Sync your game progress first.
Frequently Asked Questions
Is BlueStacks legal to use?
Does BlueStacks work on Windows on Arm laptops?
Can I still use BlueStacks on Windows 7 or Windows 8?
Can I install APK files in BlueStacks?
Can BlueStacks and VirtualBox run on the same PC?
What are the system requirements for BlueStacks on Windows?
Support and Community
- BlueStacks, the official site from now.gg, with news and feature pages.
- BlueStacks Help Center, with setup guides, game-specific fixes and a way to contact support.
- BlueStacks 5 release notes, to see what changed in each update.
- BlueStacks Desktop, the separate Android 16 app.
- r/BlueStacks on Reddit, a user community for fixes, settings and game questions.
More Windows software guides: Best Free Windows Software · Best Free-to-Play Games on PC · WhatsApp for Windows · Genshin Impact for Windows · How to Open Task Manager
Discover more from Windows Mode
Subscribe to get the latest posts sent to your email.










Add your first comment to this post